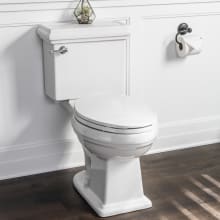
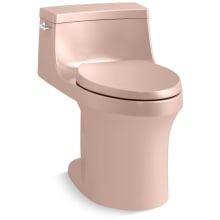
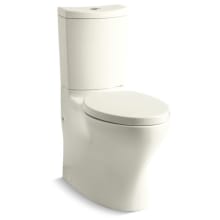
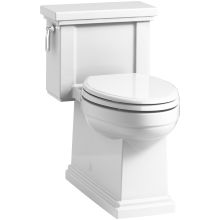
How To Install a Toilet
Follow these step-by-step instructions to replace your toilet

The first thing you're going to want to do is remove the old toilet. And before you start this project, it's a good idea to put on some rubber gloves.
NOTE: Replacing a toilet is a simple project. If you run into any trouble, make sure you contact a licensed plumber.
Step 1
We're going to start by turning off the water supply to the toilet.

Step 2
Remove the excess water from the tank. You can do this by disconnecting the supply hose. Make sure you have a bucket on hand to catch the water.

Step 3
Remove the caps at the base of the toilet, along with the bolt holding it to the ground.

Step 4
Carefully rock the toilet back and forth to break the seal. At this point, you should be able to lift the toilet straight up and out. This may take an extra set of hands.

Step 5
Remove the old wax ring. And to prevent any unwanted odors from the drain, you might want to stick an old rag in the hole while you're doing this.

Step 6
Make sure you've got a nice clean floor. Go ahead and put your new wax ring in.

Step 7
Lower the new toilet bowl onto the wax ring, making sure to line up the holes with the bolts in the ground. Apply even pressure to the toilet so it sits completely flat on the ground. You can also try sitting on it to make sure it's got a firm seal.

Step 8
Replace the bolts to attach the toilet to the floor, along with the decorative caps. When tightening the bolts at the base of the toilet, make sure you don't over-tighten, as this may crack the porcelain.

Step 9
If your toilet bowl and tank come separately, now you can go ahead and attach the tank to the bowl. Make sure the rubber gasket is in place. Place the tank on top of the bowl.

Step 10
Use the provided screws to secure the tank to bowl. Make sure the rubber washers are on the inside of the tank.

Step 11
Run a bead of caulking around the base of the toilet. To make the job easier, we used this handy Milwaukee battery-powered caulking gun.

Step 12
Reconnect the supply hose to the toilet tank. Now go ahead and install your toilet seat.

Step 13
Turn the water on and fill up the tank. Make sure to watch for any leaks.You may have to adjust the valve inside the tank to make sure you get the right water level.

Step 14
Now you can go ahead and give it a test flush.

Related Articles

Shop Products